
Step Four, Graduated Filter
Once again in Adobe Lightroom we will process this image, follow the next directions:
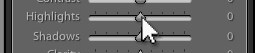 Fist click on “Basic” and edit “Highlights” all the way down to -77
- Then push “Shadows” all the way up to +80
Now apply a graduated filter in the following directions:
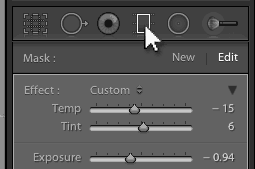 Now click in “Graduated filter” (M)
- Double click in “Effect:” this will reset the sliders to 0
- Then bring “Exposure” down a litter bit. You will not see change
- Now apply the gradient by clicking in the image and holding the “shift” key down to make it perfectly perpendicular and pull all the way down
- Move “Temp” down (Just a bit)
- Move “Tint” up (Just a bit)
We are done with graduated filter. Click on the graduated filter to get out.
Step Five, From Whites to Vibrance
Now go to “whites and blacks” and hold the key “alt” down and slide the “whites” right, you will see that the photo turns black that’s ok. Slide the “whites” until you see some color. Next, do the same with “black” but slide it to the left.
Add some “Clarity” and some “Vibrance” to the right. Add some “Contrast” until you are satisfied with the result.
Now if you press the “back” key and the “forward” key, you will see the before and after.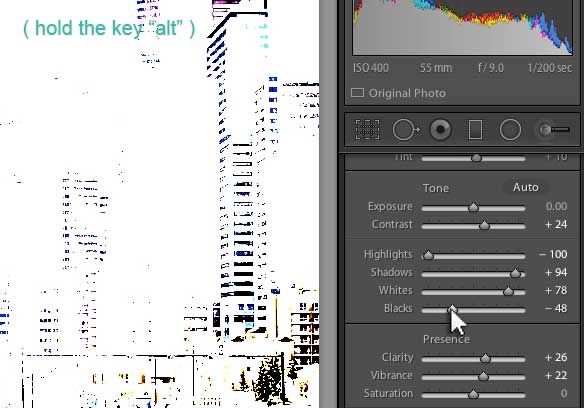
Step Six, Brush and Radial
Now apply a brush. To do so, go up to the “brush” icon and follow the next steps.
 Double click in “effect:” to reset the sliders
- Set “Contrast” up to 40 or 50 and apply the brush in the sky or wherever it is needed
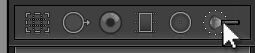
We are almost done, now apply a “Radial Filter” (Shift + M) or click in the icon and follow these steps:
 Double click in “effect:” to reset the sliders
- Edit: Contrast, Highlights, shadows as you want
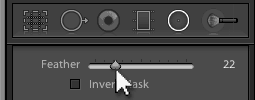
- Go down to “Feather” to apply a mask with feather
Finally, go to library and click “export…” select where you want to your photo be saved and click “Export”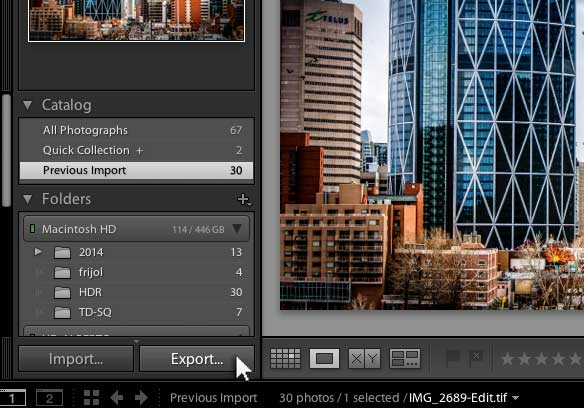


 Design by:
Alberto Tolentino-Pineda
Multimedia Designer
tolentinopineda@gmail.com
Copyright © 2024 - Albertotolentino.com